Urine Specimen Cup Redesign: Prototyping
For my group’s prototype of the urine specimen cup, I started with 3D modeling a very basic cup, with the only functionality being a lid that screws on and off. The screw-top lid was one of the most critical functionalities of our prototype because without it, we wouldn’t be able to test if our design facilitated screwing and unscrewing the cup; instead, we would only be able to check if our modifications made the cup easier to grip and hold.
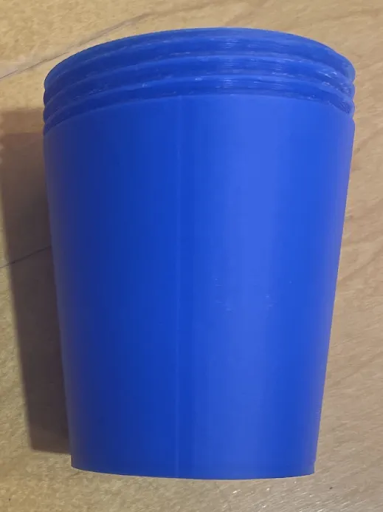
The left-hand-side picture above shows the initial cup that we 3D-printed from the 3D model. The corresponding lid that we printed did not fit well on the cup; after only a couple of turns, it stopped going further. Something was getting stuck as we screwed it on, and it was very difficult to screw and unscrew. Upon inspection of the threads on the lid, I found that there were a lot of fragments of plastic stuck between the threads, and a lot of the threads were warped or misshapen. I realized this could be fixed by adding supports while 3D-printing. After a reprint with supports, the problem was fixed. As a result of this iteration, I learned more about how to optimize the 3D-printing process. And this learning would not have been possible without failure, since, if the lid had worked first try, I would not have practiced improving the parts.